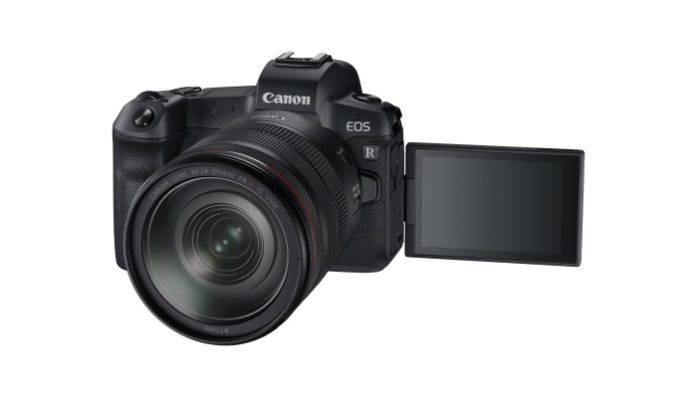
Canon EOS R
The Canon EOS R is a camera that can be customised precisely for the type of photography that you enjoy. The setup here is for general photography but it can easily be tweaked towards the photography that you do most. As an example, I have set my own camera up for street photography and saved it as a preset. All will be explained in this guide to the Canon EOS R setup for the everyday photography of places, things, and people.
The settings described are in the Menu.
First
Format the Card
It is worthwhile getting into the habit of reformatting the card every time you use it. Getting rid of all the data reduces the risk of data corruption.
WRENCH 1> Format Card
Canon EOS R Menu
Most menu settings can remain as set by Canon when the camera left the factory. These are the settings I would change:
Starting Out
Image Type
Shooting in RAW gives the utmost flexibility in post production, but if you are not into that, shoot in JPEG. I set the camera up for both..
CAMERA 1> Image Quality> CRAW + S1
Power Saving
ECO Mode does not seem to slow the camera down so set.
WRENCH 2>ECO mode> On
Shooting Settings
I prefer not to have a view of the picture I have just taken appear in the viewfinder. It slows down shooting speed, so I disable this feature:
CAMERA 1> Image Review> Off
It is an easy mistake to make to go out without a card installed. To prevent shooting your best pictures ever, and then realising that they have not been recorded.
CAMERA 1>Release Shutter Without Card> Off
Auto Focus
There are two autofocus modes that can be set in AF 1. ONE SHOT AF where the camera focusses and locks on the subject and SERVO where the camera continually refocusses on a moving subject. A convenient way to shift between the two is to use the M-Fn button to the left of the shutter button.
Continuous AF
When switched on the camera is continually refocusing so that when you come to take the picture it is already in focus before the shutter is pressed. This means that it is working when the camera is just being held.
There seems no need because the focus works instantaneously when the shutter is pressed.
AF 1> Continuous AF> Disable
AF Method
AF 1> If you want to use the face and eye detect features on the camera then set to Tracking. Personally, I do not. Instead I set to AF 1> AF method> 1-Point AF which has more flexibility for all sorts of photography.
Eye Tracking
AF 1> Eye Detection AF> Enable (NB has to be set to Tracking)
Touch Screen AF
Use the screen to move the AF point. With a bit of practice, it works great just using your thumb.
AF 1> Touch and drag AF settings> Touch and drag AF> Enable
AF 1> Touch and drag AF settings> Positioning method> Relative
AF 1> Touch and drag AF settings> Active touch area> Btm left (depends which eye you use and need to avoid your nose changing the AF position)
Useful Tips
Drive Mode
I leave the camera in Single Shot but if you need to change to Self Timer or Continuous shutter release then the quickest route is via the M-Fn button to the left of the shutter button.
Vertical Finder Display
The information in the EVF will rotate if the Canon EOS R is held vertically.
WRENCH 4> Shooting info disp> VF vertical display> ON
Grid in Viewfinder
I find a grid in the viewfinder useful for composing. I am always trying to shoot those thirds.
WRENCH 4> Shooting info disp> Grid display> 3×3
Using Non-Canon Lenses
To use other branded lenses with the Canon EOS R adapter.
CUSTOM 5> Release shutter w/o lens> ON
Beep on Focus
Do you want to let everyone know that the camera has focused? Probably not.
WRENCH 3> Beep> Disable
Setting Custom Buttons and Dials
Control Ring
The ring on EOS lenses and the EF lens adaptor is a useful feature. As it is possible to see in the viewfinder the effect of different exposure values so I set to Exposure Compensation.
CUSTOM 4>Customize dials> Control ring> Exposure compensation ( hold meter btn)
M-Fn Bar
This control is controversial, some people find it OK others hate it. It might be OK when I get used to it. I have it set for ISO
CUSTOM 4> Customize M-Fn bar> ISO
Save Settings
To save these settings WRENCH 6> Custom Shooting Mode (C1-C3)> Register Settings> Custom shooting mode> Register camera settings to Custom shooting mode> OK.