Posted by Glyn Dewis. https://www.instagram.com/glyndewis/
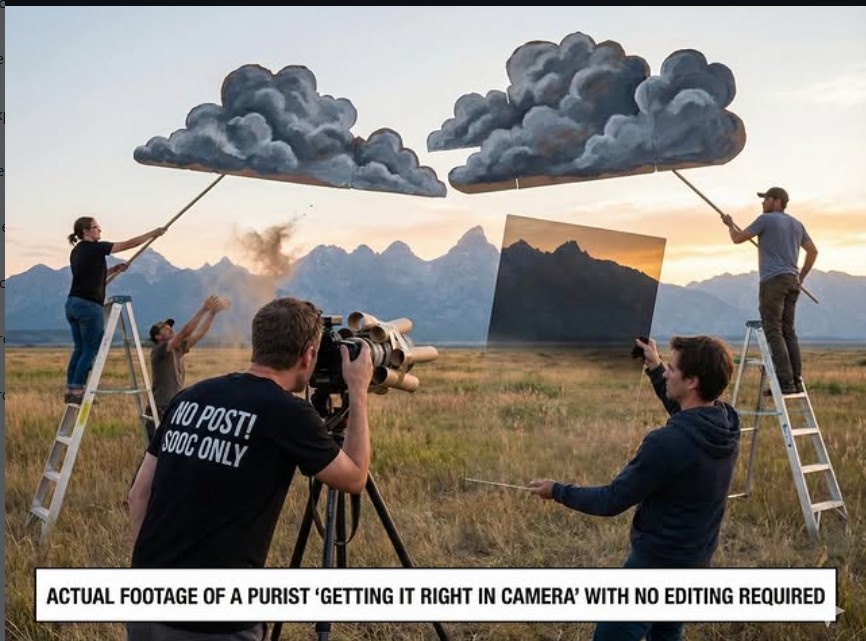
I do despair of photographers who ‘boast’ about getting it right in camera. It is like shooting a movie without editing or post-production. I have yet to see an image that could not be improved with a bit of Lightroom, or dare I say it, a touch of AI.