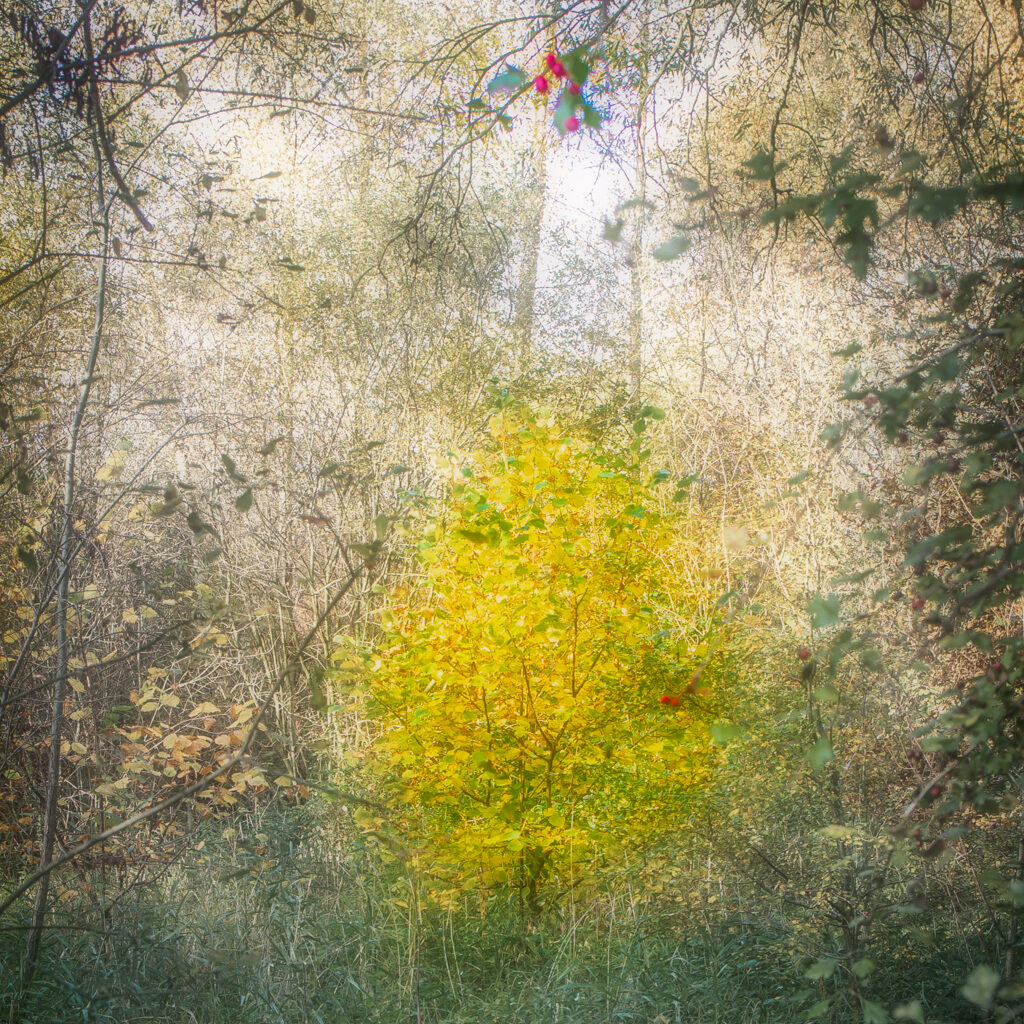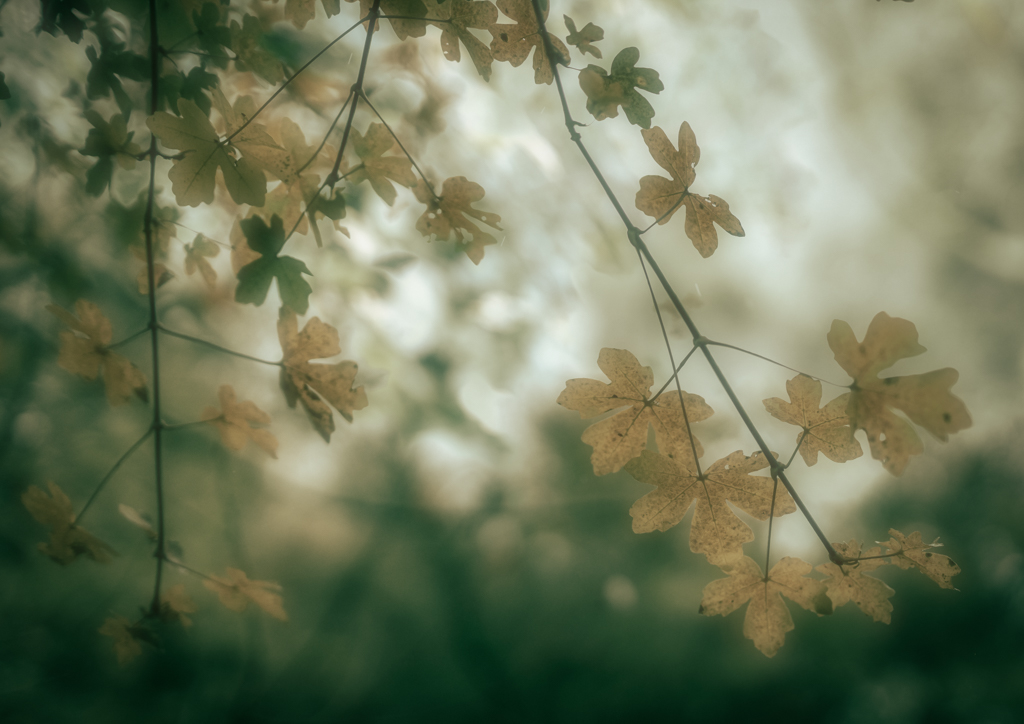
One of my big obsessions with photography is to try to photograph how the mind interprets what we see rather than what the camera is pointing at. Misty Autumn photography is about looking at Autumn leaves, trees and landscapes through an ethereal, golden, opaque lens.
I wrote about photographing the Autumn colours before the season began. I was looking forward to the season and trying to get an impression of Autumn perhaps through multiple exposures. Due to the lockdowns, we are having here in the UK, I think we are seeing the seasons so much more vividly. Walking through nature has certainly maintained my sanity during these worrying months.
Glenys Garnett
My mentor through this time has been Glenys Garnett. I recently watched an RPS talk she gave about her photography. She talked about how she will frequently photograph the same patch of woodland behind her house in the pursuit of wonderful dreamy images.
As she says, working in a familiar space will force your creativity. Encouraging you to make images about how you feel, and embracing abstraction. She suggests looking at the muted colours of work by American painter, Andrew Wyeth.
Looking for soft light and a subdued palette has led me to the work of Jo Stephen.
Jo Stephen
I am drawn to using creative photographic techniques as they enable me to explore my connection to nature in a way that representational photography does not always allow. … Jo Stephen
I agree, that statement sums up so simply my view that seeing is believing but believing is what we see.
These are some of her Autumn images and some of her woodland images.
Processing Misty Autumn Photography
With thanks to Jo Stephen, this is a simple technique to get that wonderful soft lighting.
Lightroom
- Expose as you would normally, bringing down the highlights and increasing shadows etc
- Decrease the vibrance, clarity and saturation especially green and cyan.
- Increase the saturation of key colours e.g. reds and oranges in Autumn
- Add a slight vignette
- Transfer to Photoshop: Photo>Edit in>Photoshop
Photoshop
- Open in PS
- Make a duplicate layer: Ctrl J
- Add Gaussian blur to the duplicate layer: Filter>Blur>Gaussian Blur. Move slider about half way. Apply.
- Add a curves adjustment layer and just lift and tweak the top of the graph.
- Add a clipping mask. Rt click the adjustment layer and select clipping mask
- Move the opacity slider to around 15-30%
- File>Save
Lightroom
- Open in LR
- Adjust to suit your style. you may want to try a profile
This is one I tried earlier………….

This is a beautiful effect which I am also going to experiment using with my Pep Ventosa and multiple exposure images.