• Home
  • Images of the Month
  • My Notes
  • About
  • Contact
    • Privacy Policy

iJourneys

John Gough Photography

Camera Wrist Strap or Neck Strap

by John Gough

What if you wanted to use a neck strap for say landscape work and a wrist strap for street and urban style pics. Its too much of a faff to unbuckle one and put on the other, so what is the solution?

It is these Op Tech System Connectors:

I bought these 1.5mm connectors and I use them when I am not using the strap that came with the camera, with this Maveek paracord wrist strap.
Filed Under: Equipment, Gear

Fujifilm XT20 Blurry and Out of Focus Shots

by John Gough

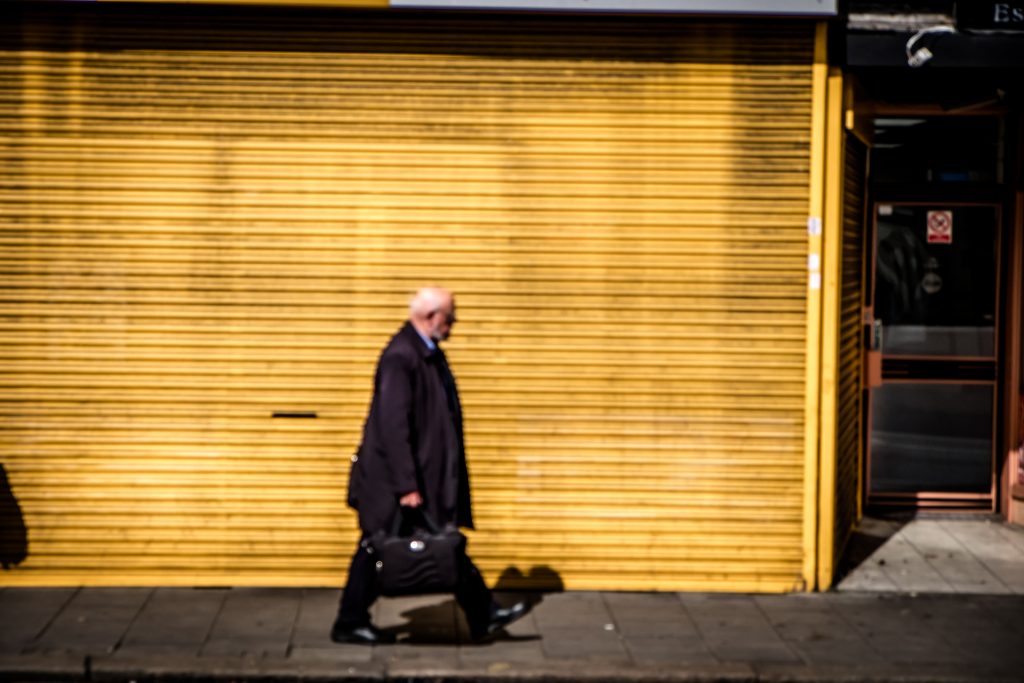
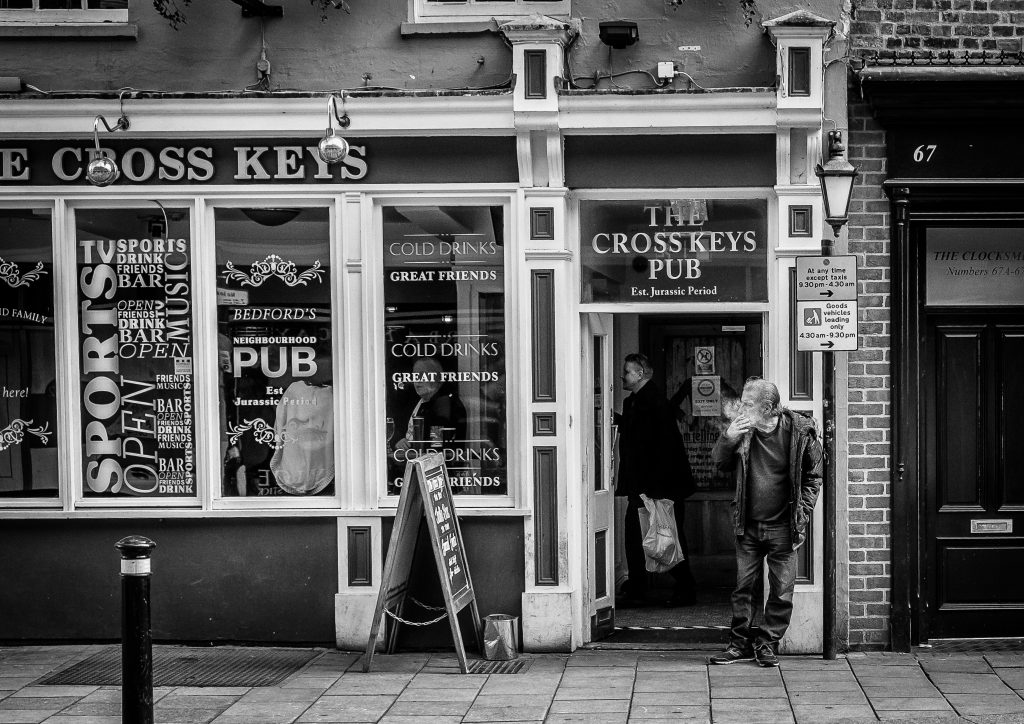
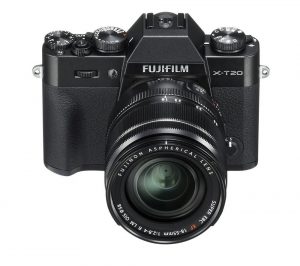
I bought my Fujifilm XT20 a week or so ago, and I spent a couple of days testing, to see how I could work with it. I bought the Fuji XT20 as a small inconspicuous street camera, which meant that it had to focus fast to capture fleeting moments.  As can be seen the testing was not successful, something was wrong. About 30% of my images turned out this way. I had setup the camera according to the manual and online videos here. I had to assume either the lens or the camera were at fault, and got ready to return the camera to Wex Photographic. However because it is a bit of a drive to Norwich, I decided to do some research first. What I uncovered was that this issue is not uncommon with the X cameras, and the Fujifilm 18-55 lens. The forums were full of woe. How was it that all the reviewers thought this camera was brilliant, but lots of new users thought it was crap? The key was that the blurry pictures were usually from new users, which could mean that my XT20 setup was at fault. I spent a day researching and gradually changed the setup. The next day this picture was shot quickly from across the street. I was pleased to discover that it was sharp. I shot over 400 shots that day and nearly all were successful. How was it done?

My Notes on the Fujifilm XT20 Setup to Achieve Sharp Images.

These are my notes / instructions to myself, on the setup I have used to stop getting blurry images with the XT20:

Shoot Aperture Priority

This may seem counter intuitive, why not shoot shutter priority and select a high shutter speed that will ensure that there will be no motion blur? Shutter priority leaves control of the aperture to the camera. I lose creative control. I may want to blur the background with wide aperture. I may want to ensure there is sufficient depth of field so that all the people in a group are in focus. I may want to focus on a feature in a landscape. So long as I keep an eye on the shutter speed in the viewfinder, I should be able to control both.

AF-S

Set Focus Mode to single shots i.e. AF-S using the dial on the front of the camera. P78 in the manual. This will ensure that the camera will refocus before taking the next image when the shutter is pressed half way. NB S on the dial on the right of the camera. However if the subject is moving then switch to continuous. AF-C and CL or CH on the dial on the right of the camera.

Set High Enough ISO

I don’t trust the Fuji auto ISO to move up as the scene demands. Try it! So I set the ISO at around 640 to ensure that there is flexibility in aperture and shutter speed. Most cameras today can handle higher ISOs. Better a slightly grainy image, which can be recovered in post production, than a blurry one. Q>ISO>rear command dial.

Single Point AF Mode

There are three selectable Focus Modes. Zone and Wide Tracking are designed for moving objects, Single Point AF will however provide pin point control of the focus point if the subject is static. Menu/OK>AFMF>AF Mode>Single Point.

Select the Smallest Size Focus Point

The smaller the focus point the more accurately the camera can be shown exactly what to focus on. Menu/OK>AFMF>AF Mode>Single Point. Use the rear command wheel to select the smallest size a single sensor. P83 in the manual.

Control the Focus Point

Once the smallest focus point is selected, then to quickly move the focus point around the EVF (Electronic View Finder) or screen set the selector buttons around the Menu/OK button to move the focus point. Note that pressing the DISPBACK button will always return the focus point to the centre.  Menu/OK>Wrench>Selector Button Settings>Focus Area

Shutter AF On

To ensure you get what you see. Set the XT20 to lock the focus when the shutter is pressed half way. Menu/OK>Wrench>Selector Button Settings>Shutter AF>On

High Performance On

There is a power management setting that speeds up the auto focus, but it does drain the battery a little faster. However buy some spare batteries and go for sharper images. Menu/OK>Wrench>Power Management>Performance>High Performance.

Facial Recognition Off

Facial recognition is great for just that e.g. photographing the family in the back garden. However don’t leave it switched on or the auto focus will be hunting for faces in all scenes, and may override the chosen focus point. Menu/OK>AFMF>Face/Eye Detection Setting>Off.

AF+MF Off

AF+MF enables the manual focus (MF) to be used when the auto focus (AF) is being used. Just touching the MF dial accidentally while using the zoom could throw out the focus. .  NB if AF+MF is switched on the camera will shoot in Release Priority (see below) even if Focus Priority is on. Menu/OK>AFMF>AF+MF>Off

Focus Priority On

Release / Focus Priority:  This simple setting could be the cause of many out of focus images. Release prioritises the shutter over focusing. So the shutter can fire before focus is achieved. Focus priority ensures that focus is achieved before the camera will fire.  Menu/OK>AFMF>Release/Focus Priority>AF-S Priority Selection>Focus

IS Mode Shooting Only

As a default the image stabilisation is set to continuous which is good for movies, but can induce some shake on single images. Set to Shooting Only and the OIS is only engaged when the shutter is pressed half way. Menu/OK>Shooting Setting>IS Mode>Shooting Only

AF Beep On

The focus square will turn green if focus is achieved, but it is very useful to have additional confirmation of focus lock.  Menu/OK>Wrench>Sound Set-up>AF Beep Volume>Three on options

Check Focus On

If Focus Check is on, then pressing the rear command dial zooms the display to the focus point to confirm focus. A useful feature if the scene is busy. Menu/OK>AFMF>Focus Check>On

Pre-AF Off

With Pre AF on,  focusing will continue even if the shutter is pressed half way. To be in control of auto focus then Menu/OK>AFMF>Pre-AF>Off

OIS On

Check that the OIS image stabilisation is switched on.

Conclusion

Modern cameras are brilliant because they can be configured to cover a multitude of situations. This is my setup to get sharp images of people in the street. If you are into sport or wildlife photography your setup will be different, but be assured this is a good basic setup that will help you and the Fujifilm XT20 deliver sharp images. Try it, I hope it works for you.

Where I Buy

I buy my equipment from Wex because of their exceptional customer service. I once returned a camera after 30 days, and the next day they called to return my money to my account. Their prices are always competitive and they offer good prices on the trade in of your used gear

Camera Wrist Strap

I have avoided dropping my camera so many times using a simple inexpensive wrist strap like this one. Cameras and expensive lenses do not bounce! UK USA

Filed Under: Fujifilm, Gear Tagged With: Fuji, Fuji Cameras

Fujifilm XT20 Setup

by John Gough

How to Setup the Fuji XT20

Getting a new camera can be daunting. I could not get my Fuji XT20 to work the way I wanted it at first because it was switched to Auto instead of a dot! I spent about an hour figuring out how to setup aperture priority which is the usual way I shoot.

There are some really useful videos on YouTube on how to setup the camera: Firstly Tony and Chelsea Northrop who seem to have a fantastic home and brilliant life travelling the world doing photography videos. They are worth watching though if you have not caught up with them yet. This video is an overview which is useful if you have just taken the camera out of the box:


Fuji Guys is a great channel for all things Fujifilm, this video is particularly useful as it goes into detail re the menu options, which is not easy to find in the manual.


Then there is Omar Gozalez who shoots mainly Canon (as do I), but is into the Fujifilm XT20 because it is small and fun to shoot with (as I am).


My Setup for Fuji XT20

These are my notes about the basic setup:

    • I may just shoot in P, ie Program mode most of the time as it is possible to adjust the aperture and shutter speed combinations using the rear command wheel, which is really useful.
    • The screen seemed too cluttered, so I have switched a lot of the icons off. This is done via Menu OK>spanner>screen set up>screen 2>Display settings. From here it is possible to configure what is shown and what is not.
    • I have switched the image being displayed after every shot as it was confusing especially when shown in the EVF. This is done Menu OK>spanner>screen setup>image display>off.
    • My camera locks occasionally and the green light blinks continually. It is annoying and all you can do is take the battery out and put it back in.
    • I was confused about manual focus. This is activated from the focus mode selector on the front of the camera on the right of the lens, by switching to M.
    • Shooting single and burst is on the drive dial on the top right of the camera.
    • A useful tool is the the auto focus distance indicator which is MenuOK>spanner>screen set up>screen 1. When shooting quickly it is useful to have an idea of the depth of field for a chosen aperture.
    • The quickest way to change the ISO is the quick menu button Q, scroll to ISO and change using the rear command wheel. I would have liked that on the front command wheel. Is that possible? Please let me know.


Camera Wrist Strap

I have avoided dropping my camera so many times using a simple inexpensive wrist strap like this one. Cameras and expensive lenses do not bounce!

UK

USA


Filed Under: Cameras, Fujifilm, Gear, Mirrorless Tagged With: Fuji Cameras

Canon EOS M3 Review

by John Gough

I thought I would explore mirrorless cameras. Will they take over from DSLRs or are they just a jumped up compact camera?

I chose the Canon EOS M3 because it was on offer at a great price at Amazon and these are my notes. I am doing a lot of street photography and I wanted a camera that was discrete, and which I could use without raising it to my eye. The EOS M3 fitted the bill with its neat articulated screen. The camera is also so small that it is lot less noticeable than a big DSLR.

How did I get on.

  • The 24MP APS-C CMOS sensor coupled with the EF-M 15-45 zoom lens capture excellent detail, as can be seen from the image above. Especially considering there has been some of cropping involved.
  • A big plus is that there is an adapter that joins the camera to your big DSLR lenses so your investment in Canon glass is safe.
  • The handling is easy, it is smaller than a DSLR but bigger than many of the compact cameras we have all used, so it’s size is not as big a deal as many commentators make out. I did not miss the viewfinder, although an external EVF (Electronic Viewfinder) can be bought separately which clips onto the hot shoe.
  • I have big hands and the camera felt comfortable. The build quality is good and the grip was nicely proportioned.
  • I loved the flippy screen, which articulates to 180 degrees. OK not much can be made out in strong sunshine, but it is convenient and covert enough for street photography.
  • There has been criticism of the battery life, but I think that must be when used for video, I had no issues on a photographic shoot.
  • Autofocus is an issue. Reviews complain that it is too slow. My reservation is about the inconsistency and accuracy. Often a shot would be brilliantly in focus, and then another would be off. Perhaps it was the complexity of a street scene, but even when I used the touch control on the screen it often did not pick up the focus zone.
  • Another issue is the small buffer when shooting continuously in RAW, the camera almost starts to pant with exhaustion after a few shots.
  • It is a bit unfair because the sensor is getting a bit long in the tooth, but the dynamic range is challenging. Digging for detail in RAW that just is not there in post processing.

So what is the conclusion? I like cameras this size and weight that can produce fabulous images just like those from a good DSLR. So I want to explore going mirrorless. My issue with the Canon EOS M3 is that it is inconsistent. I cannot guarantee good results in the quickfire arena that is street photography. However, if you are thinking of buying a good walkabout camera to record family and events, forget those little compact cameras with their small sensors and lenses and instead look no further. For less than £500 it is a steal.


Where to Buy Your Equipment

I buy my equipment from Wex because of their exceptional customer service. I once returned a camera after 30 days, and the next day they called to return my money to my account. Their prices are always competitive and they offer good prices on the trade in of your used gear.

Filed Under: Cameras, Canon Cameras, Gear, Mirrorless Tagged With: Canon Cameras

« Previous Page
Copyright: John Gough 2025