• Home
  • Images of the Month
  • My Notes
  • About
  • Contact
    • Privacy Policy

iJourneys

John Gough Photography

Photography Show

by John Gough

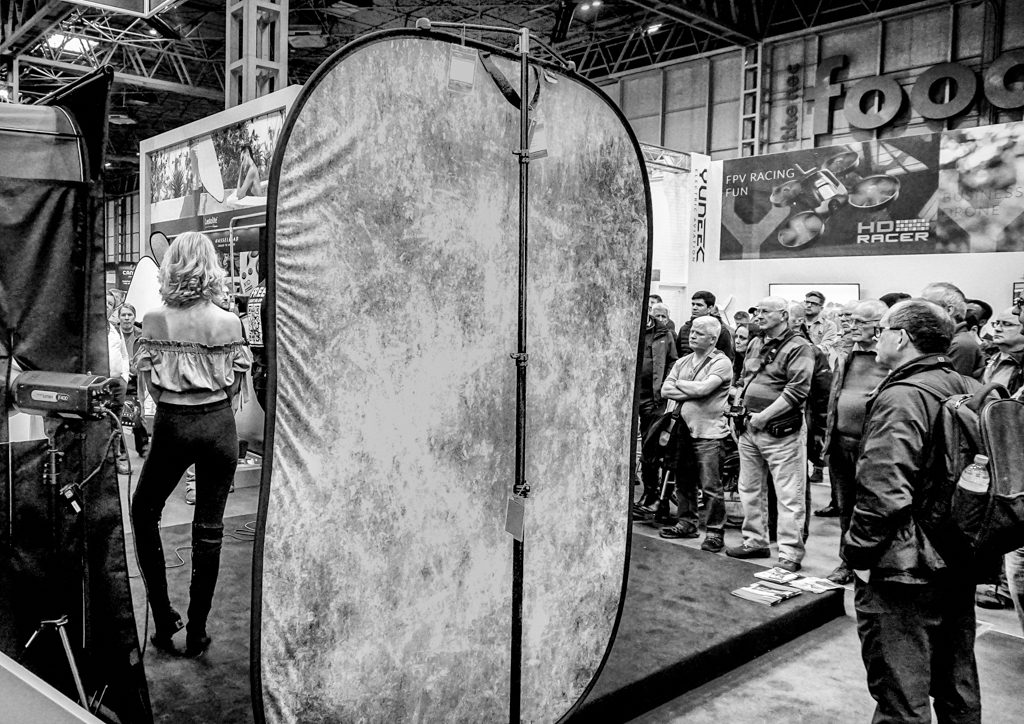
A Model at the Photography Show / John Gough / Sony a6300

I went to the Photography Show today, these are just a few impressions:

Canon 6DII

The Canon 6DII had been reduced in price again with a double discount scheme. Below £1400 and with a 24-70 lens thrown in for an extra £100. This is a sure sign that this much maligned camera is struggling. I talked to the guys on the Canon stand who said what we know, which is that Canon was afraid of ruining the market segment for the Canon 5D IV, by raising the specification too far. This strategy has backfired.

Sony A7III

The star of the show was the Sony A7III, I had read the reviews but was not sure how it would feel. It is a small light camera but feels solid in the hands. The EVF is big and bright. I compared it with my Sony a6300, and it is a bit bigger. I think it could be used for street photography. I want one.

Fuji H-XT

There has been some magic lost here. Fuji folk would never admit it. They are the most die hard camera fans there are. Fuji does some excellent marketing to keep them loyal and close. The camera, however, did not have the look and feel of the X-T2, X-T20 or the beautiful X-Pro2. I think it is losing the vintage experience and replacing with a top screen c’ Nikon year 2005, which has something to do with it. Plus Olympus and Sony are demonstrating that cameras do not have to be big and clunky.

Adapting Canon Lenses to Sony

I admit it was on the Sony stand that I heard this, but the Sigma M11 works well joining Canon glass to Sony bodies. There are frequent updates that can be downloaded to the adapter as new lenses and bodies are introduced. There is a big demand for this adapter as photographers switch from Canon to Sony.

Trashhand

Listened to Trashhand on the Live Stage. “Call me Trash”. Liked his approach to street photography which was a mix of people, architecture and urban landscape. He recounted that he had been spat at and assaulted working on the mean streets of Chicago, LA and New York. “If people complain, it is their fault. If they don’t want their photo taken then they should not be on the street”.

Paul Sanders

Saw Paul Sanders in the Adobe Theatre. Beautiful minimalist landscape using Lee big stopper filters to their full potential i.e. 10 and 20 minute exposures.

The End

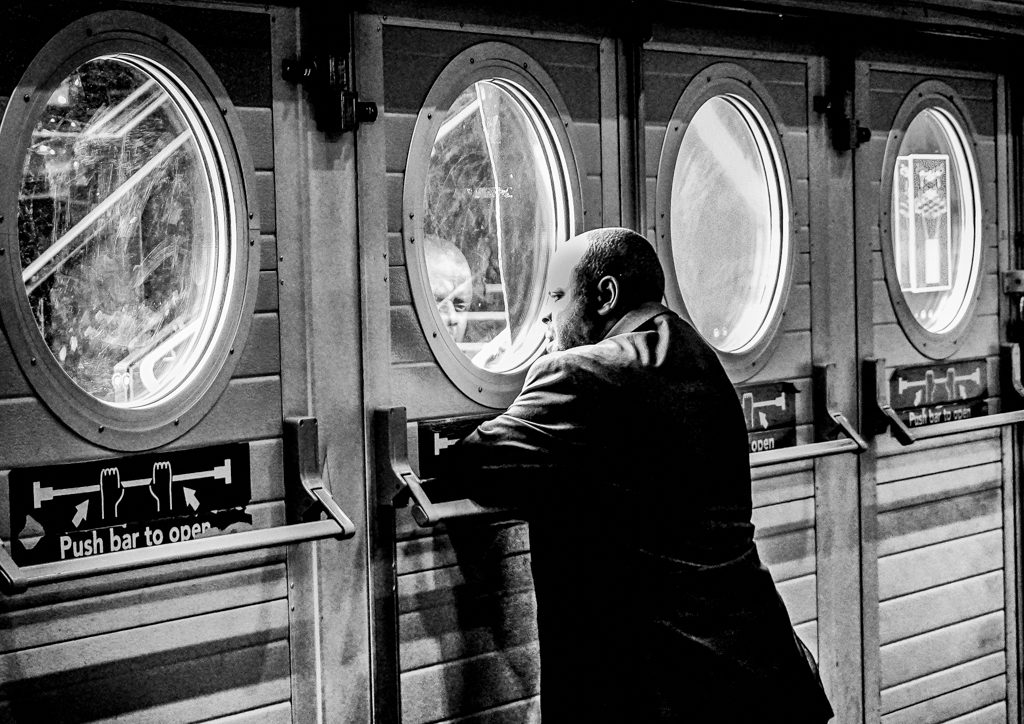
An excellent day, although I did get collared by security for taking a photograph of a door. I had to point out that this was a photography show.

Looking Out / John Gough / Sony a6300

Filed Under: Gear, Journey, Photography, Visual Art Photography Tagged With: Visual Art

International Garden Photographer of the Year

by John Gough


IGOPTY

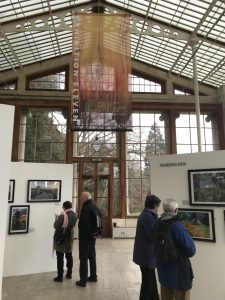
IGOPTY at Kew Gardens.

An exhibition of last year’s winners of the IGPOTY is now at Kew Gardens and then a few other venues around the country. I went along today and there are some terrific images. This photography contest has become big business and is very popular. To get a winning image is a big deal, and the standard is to die for. The winning images are here.

Interesting how ‘creative’ so many of the winners are, and how plant photography drifts so seamlessly into abstract. Try to catch it.

Filed Under: Competitions, Exhibitions, Journey, Photography

Elliot Erwitt

by John Gough


Elliot Erwitt

Elliot Erwitt

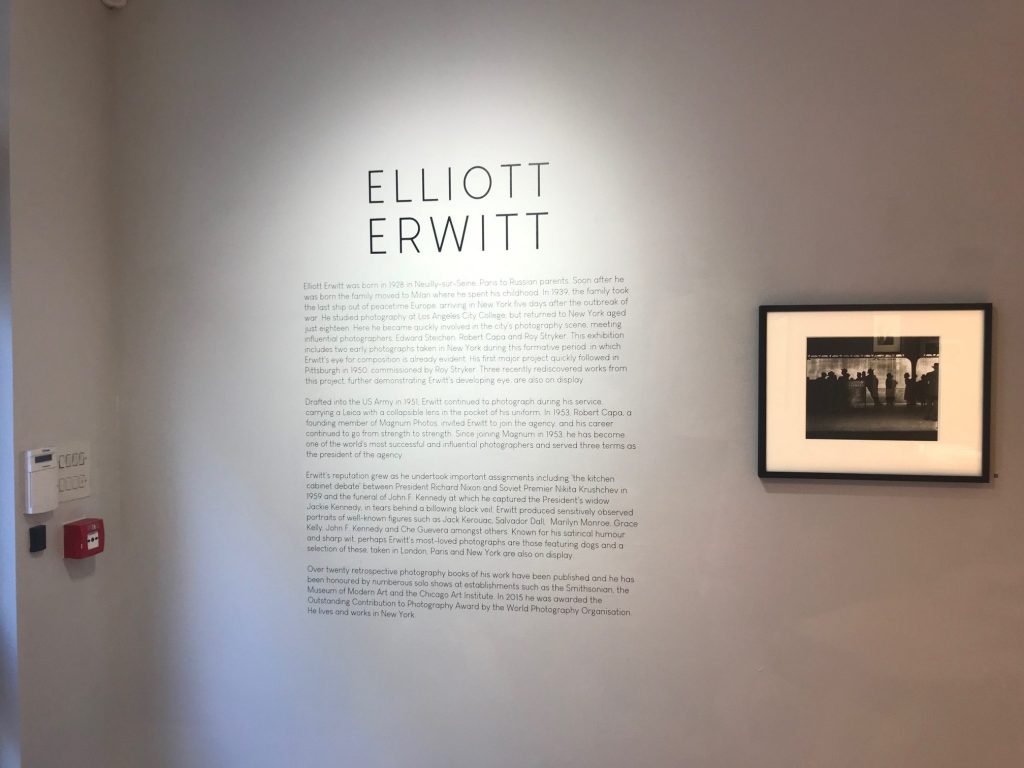
At Huxley-Parlour, there is an exhibition of the work of Elliot Erwitt until Feb 17th. If like me you are a bit fuzzy about his photography, enter the gallery and walk straight ahead until confronted by a sublime portrait of Marilyn Monroe. Priced at between £4000 and £11,500 depending on the size, signed and a direct silver gelatin print from the original negative. You will be convinced you should buy it whether you can afford it or not.

I have collected some of the images in the exhibition here.

Erwitt was one of the first to join Magnum Photos in 1953 and was in the distinguished company of Capa, and Cartier-Bresson. Erwitt throughout his career carried a ‘hobby’ camera, a Leica M3 with a 50mm standard lens, loaded with Kodak Tri-X or Ilford HP4 film. He called these pictures his ‘snaps’, captured with humour, sarcasm and incongruity. He was a street photographer before the term was invented, just using the power of his own observation.

photography is an art of observation. It has little to do with the things you see and everything to do with the way you see them.

Elliot Erwitt


Filed Under: Exhibitions, Journey, Photographer, Photography, Street Photography Tagged With: photographer

Give Your Images Away with Unsplash

by John Gough

Unsplash

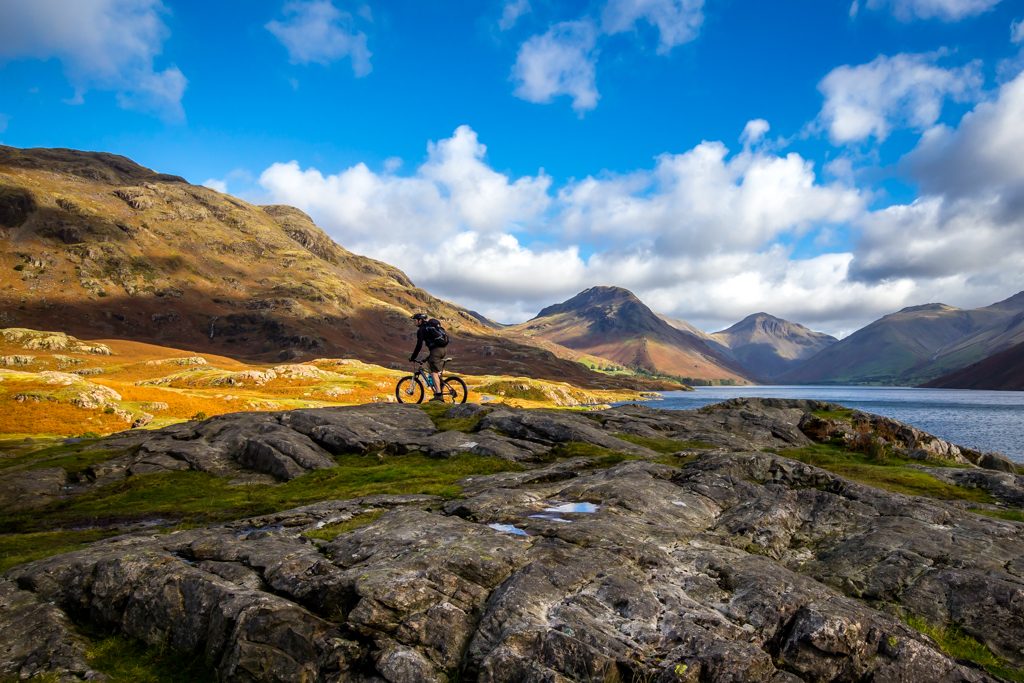
Mountain Biker / John Gough / Canon 6D


The other day my son asked if he could use my image Billboards for a new site he was developing. Yes, of course, no problem.

It got me thinking. If you are prepared to let family and friends, use your images then why not let anyone use your images. I have been fortunate enough to sell some photographs, but that is the small tip of a very big iceberg. Below the waterline, there are thousands of images languishing on my hard drive which will never again see the light of day.

Could these be of use to somebody?

What is Unsplash?

Last week I gave it a try using Unsplash. Unsplash is a website where photographers can share high resolution images, making them publicly available for everyone for free, even for commercial use. Created in May 2013 by a trio of Canadian entrepreneurs. Four months after creation they hit one million downloads, and a year after that they had more than a million downloads per month. Now there are 400,000+ high resolution images hosted on Unsplash, shared by 65,000+ photographers from all around the world.

The image I used was I thought vaguely commercial, in that it had a young man on a mountain bike in outstanding scenery. So how has it done over the past week? Well, I don’t know if this is good or not, but it has had  1534 views and 11 downloads. My work is out there flying free.

Why Use Unsplash?

Imagine designers, artists, writers from around the world can now use my image for album covers, posters, article headers, blog posts, and advertising etc etc. However, this is a disruptive technology which will threaten traditional curators like Shutterstock, and eventually undermine the work of professional photographers. So should we allow our photographs to be given away?

Stock photography is dying, people are paying less and less for images, and let’s face it there is a lot of theft out there. The value of my images sitting on my hard drive is virtually nil.  So why should I not give myself the pleasure of giving them away? People in poorer parts of the world, students, new businesses, charities can all benefit.

My photographs will be out there doing good.

What makes you happy is worth all the money in the world, and it makes me happy to give my images for free to those who need them.  Samual Zeller


Filed Under: Journey, Photography, Post Processing Tagged With: Post Processing

How to Win a Photography Competition: 50 Tips

by John Gough

Photography Competition

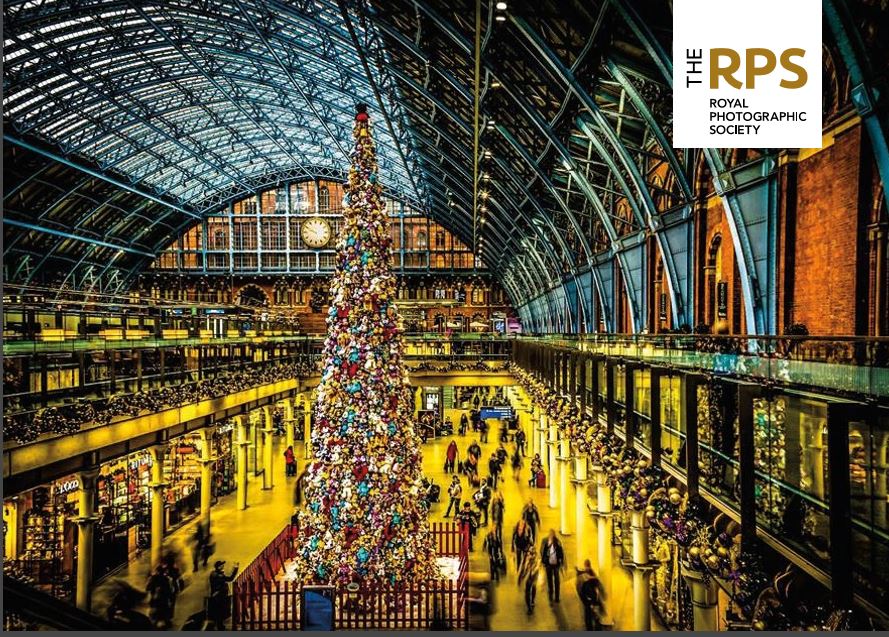
Christmas at St Pancras / John Gough / Canon EOS 6D

How to Win a Photography Competition

Looking to win a photography competition in the New Year? Whether it be at club level, or international level the devil is in the detail. The judge is looking for the best, but also has to exclude the rest. If the judge can find good reason to remove the majority of the entrants, then selecting the best from whats left, makes choosing a winner so much easier.

If the reasons why the judge might exclude your entry are eliminated, then your image can reach the shortlist. From there, it is down to which photograph the judge will put first, and that is a subjective judgement, that no one can predict.

Impact

To make an image competition ready, is a lot of hard work. There is no point polishing sh*t.

Pick an image that is outstanding.

  1. First impressions count. There has to be impact. There has to be a Wow!.
  2. Make sure the picture tells a story, otherwise it is just a record shot.
  3. There has to be photographer input, otherwise it is just a snap.
  4. Find an emotive connection: sadness, happiness, humour, joy, fear, surprise. Ask how does the image move me?
  5. If the image is perfect, but there is no emotional content, the judge will look for extraneous reasons to reject e.g. “Could have done with a figure in the foreground” or  “Do we need those figures in the foreground?”.
  6. Pictures of family members that you love, are not usually winners. There is an emotive connection with yourself, but not with the judge.
  7. Try to avoid cliche shots. Do we need another waterfall with a 10 stop nd filter?
  8. Don’t try anything too clever, like multiple layering for no creative reason. It is just an excuse the judge will use to mark low.

Composition

The judge will always go for a safe selection. A well composed picture that is technically perfect. The judge will therefore be looking for obvious mistakes. Composition rules are of course meant to be broken. In this instance however, it is just another excuse the judge can use to give the image a low score.

Look for any composition blunders that should be eradicated, otherwise your image will be eliminated.

  1. Judges love the rule of thirds. Don’t put the horizon in the middle of the image, otherwise the judge will pounce.
  2. Judges love three things not two, not four. Three.
  3. Don’t crop too tight, give room for the subject to move into and out of the picture. Judges love commenting on cropping.
  4. Watch diagonal lines that lead into the corner of the picture. Some judges don’t like it.
  5. Create a strong focal point
  6. Give the eye a route to follow. Leading lines for example. Don’t let the judges eye wander out of the frame and get lost.

Image Quality

IQ is more important than the subject in a photography competition. The judge is likely to be ambiguous about the subject, but image quality can provide endless negative feedback. It is possible to fix a lot of IQ in post production, so very carefully critique your entry.

This is a long but vital check list.

  1. First get rid of spots by cloning them out. There are tools in Photoshop and Lightroom. It can be embarrassing, and fatal if the judge finds a dust spot.
  2. If the image is not pin sharp in at least one important part of the subject, then reject it totally. No amount of post sharpening can recover what is not in focus.
  3. Do not try to use creative blur, even motion blur. Unless you get it 100% right, e.g. when panning a race car, it just gives the judge another handle to grab.
  4. Blown highlights will lead to instant dismissal.
  5. Pull out the detail in shadows.
  6. Any dark or light areas will pull the judge’s eye away from the subject.
  7. Straighten that horizon, it is too obvious a mistake to make.
  8. Correct any converging verticals
  9. Check the white balance. Remember in RAW there is no auto balance
  10. Add contrast, a flat image looks like a pancake.
  11. Use the clarity slider sparingly. It is often hard to see, but it can make your images seem over edited. The judge will see it if you do not.
  12. Sharpening in post production is one of the most difficult skills to master. Use only a little. Note that Lightroom sharpens an image by 25% during import. Less is more.
  13. Judges will be on the look out for any halo effect which can be caused by a number of factors, including too much clarity and over sharpening.
  14. Pay attention to saturation and vibrance. Was the grass really that green?
  15. Examine the image for colour casts.
  16. Don’t allow one colour to be too dominant.
  17. You may have a good artistic reason for converting to mono. The judge however will look for any defects that are being hidden.
  18. Judges will often remark in club competitions that, “I would have cloned that out”.  Get the message.
  19. Clone out all extraneous detail which is not part of the image. If I was painting this picture would I add that detail?
  20. Examine the background. Clone out anything that will take the eye off the subject.
  21. Dodge and burn to darken the background and illuminate the subject.
  22. Get rid of any distracting elements, lamp posts etc.
  23. Crop out any unnecessary foreground.
  24. If there is no interest in the sky, crop it out or replace it.
  25. Examine the edges and clone or crop out any extraneous artefacts.
  26. Consider adding a touch of a vignette to draw the judge’s eye into the composition.
  27. A vignette will also  darken the edges, and tone down any unnecessary detail.
  28. Be careful not to give away your post processing, e.g a clumsy clone stamp.
  29. If you must have a key line, go for mid grey one pixel wide.

Finishing Touches

Make sure that your image meets the photography competition criteria.

  1. Is there a size limit e.g. 1600px x 1200px? Is there a file size limit?
  2. Is a border required?
  3. Is there a limit on the number of entries?
  4. Does your image fit the competition category you are entering.
  5. Is there a format for the title?
  6. Use the title to communicate with the judge. What do you want them to see? The title may be the only handle the judge has on the image.
  7. Find out who the judges are. Research their background and the type of photography they enjoy. If you give them what they like, you may just be in with a chance.

That is 50 top tips, not for winning a photography competition. These are 50 top tips to keep your picture in the judging process, long enough to be considered a winner.

N.B. The image featured was entered into a competition run by the Royal Photographic Society and used on their corporate Christmas Card in 2016.

Filed Under: Competitions, Journey, Photography Tagged With: Photography competitions

Street Photography Update

by John Gough

Street Photography

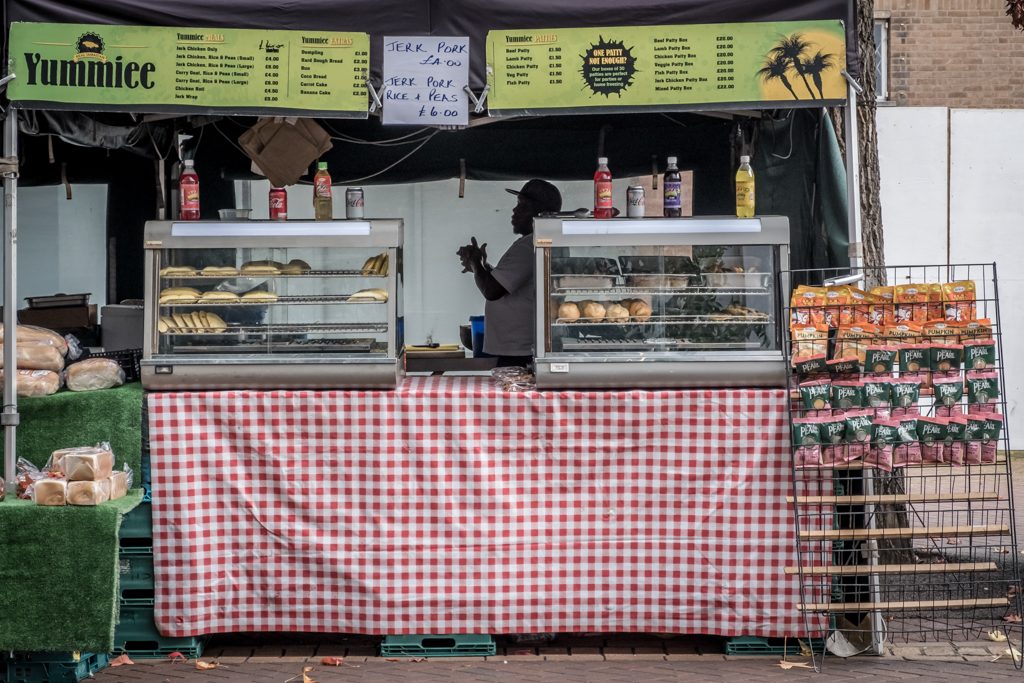
Jerk Pork / John Gough / Canon EOS 6D


What is happening in the world of street photography?

I found a film on Amazon Prime called Everybody Street, which has street photographers from New York, including Bruce Davidson, Mary Ellen Mark, Elliott Erwitt, Ricky Powell and Joel Mayerowitz, talking about how and why they take pictures.

Everybody Street

I have since sourced the film on YouTube:

As I watched the film I jotted down some insights from these iconic photographers:

Why do some photographers go to the street and others go to the studio?

Learning to read your culture is a great fascination for photographers

Capture what might be of interest in the future. When its gone, you realise that you missed taking a picture of it

There are too many bad photographs, but the good ones illuminate and entertain and get some sort of emotion, laugh or cry or something in between

Invisibility, a little camera makes you look like a sneak

Definition of public and private is smashed, so objecting to having a camera in your face is obsolete

You make the picture in the moment, turn left you have a picture, turn right and you don’t get one

Rendering the human condition, sharing the world as it is, recording life my way

More and more I want to take pictures, because I have less and less time left

Photography is about description, that is what a camera does. However as human beings we learn to understand minute little exchanges. It is down to us believing that this slice of a moment will present its self. There are a lot of people that don’t believe that the world is going to present itself in that way, so they don’t see it because they don’t look for it.

If you have a spare hour and a half and you love street photography you will love this film.


I recently saw Damien Demolder talk about street photography

Damien Demolder

Damien is an interesting speaker. He was editor of Amateur Photographer for around fifteen years. He is now a journalist, photographer, reviewer of kit and a judge on some big photography competitions. I recently saw him speak about his photography. Street photography he defines as people and architecture. His work is here

This was just some of the learning I took away.

Photography and especially street photography is showing ordinary things in an extraordinary way.

Light is important. Our subject is light. Wait for light.

Photographers are more observant than other people. Look for that decisive moment.

Shoot with a standard lens. Need to be involved with the subject not standing far away

Holding a viewfinder to your head cuts you off from the world. 98% of pictures are taken from head height. If you have a flip up the screen then shoot from the hip. It is a different view and you can see the picture coming next.

Hold your camera in front of you. Use the screen. You look like an idiot but not like a photographer.

Here is Damien talking about street portraiture:


Filed Under: Journey, Photographer, Photography, Street Photography Tagged With: street photography

Winners of the 2017 Epson International Pano Awards

by everywhereman

Thank you to my friend Cliff Harvey for finding these magnificent pictures, from the 2017 Epson International Pano Awards.


2017 Winners Gallery

Not a competition I was aware of but the images are stunning, especially The Exit. by Ivan Turukhano. Here is some more of his work.


Filed Under: Competitions, Photographer, Photography Tagged With: Photography competitions

Changing the World

by everywhereman

Giles Duley

I was moved by this short video from Wex about Giles Duley a fashion photographer for ten years, who turned to documentary photography.

In 2011, embedded with a military unit in Afghanistan, he stepped on a landmine. The explosion tore through him, costing him three of his limbs — only his right arm remains. After a lengthy recovery he now travels the world, taking pictures of people affected by war and documenting their daily lives


This is a talk Giles did for TED, it gives some background and explains his motivation to become the documentary photographer that became the award winning humanitarian photographer he is today.


When he was flown back from Afghanistan he was not expected to live, but in hospital in Birmingham, his sister remembers him mouthing “I am still a photographer”.

Filed Under: Photographer, Photography

Silver Efex Moody Monochrome

by John Gough


silver efex

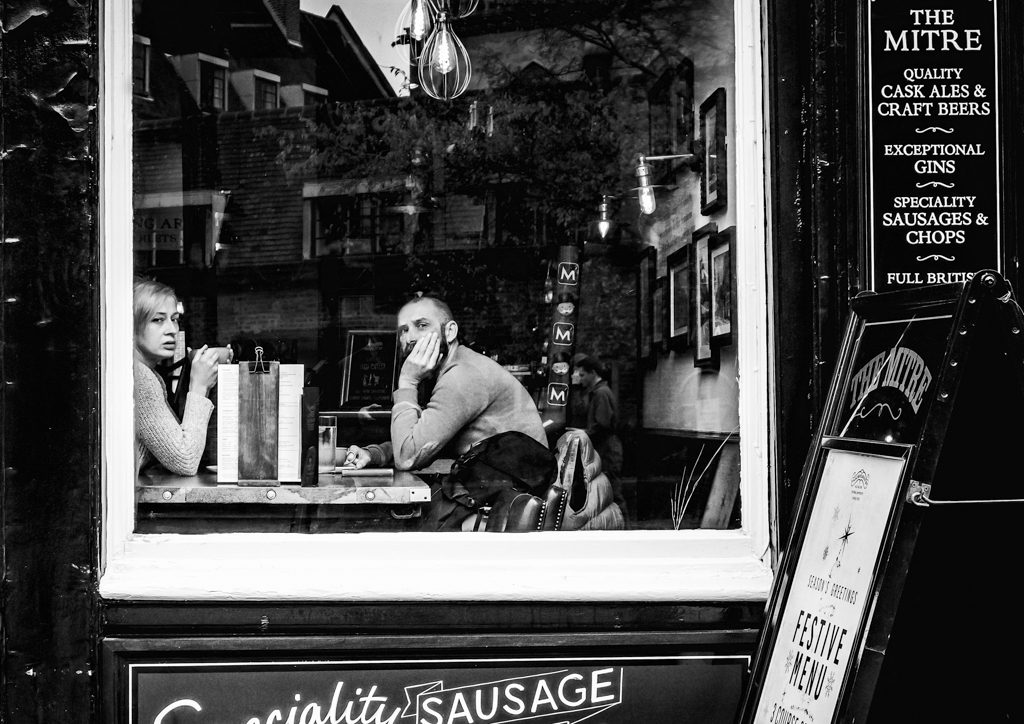
Coffee at The Mitre / John Gough / Sony a6300

I was out and about in Cambridge yesterday with my camera, and I was accosted by an elderly lady. She thought that because I was carrying a camera, I must be a snoop from the council. That is just one of the hazards of street photography. Had I been carrying a big DSLR, she would have assumed I was a proper photographer. However, a small camera like the Sony a6300 can unfortunately make you seem like a furtive fellow.

The picture above was taken there. The couple look delighted to have been caught on camera. I was having a good day!

The Google Nik Collection including Silver Efex Pro2

I created the moody monochrome image using Silver Efex Pro2, from the Google Nik Collection.

The Google Nik Collection is the best free resource for photographers available on the web. In 2016 when Google decided not to support the software further, it went on to provide the software free to photographers. This was both good and bad news. The software was free, but it was never going to to be updated. However, a month or so ago it was agreed that DxO acquire the Nik Collection, and fortunately they plan to continue to develop it. A revised version will be available mid 2018.

It is still possible to download the existing software, including Silver Efex for monochrome post processing here.

Silver Efex Pro2

This is a note to myself about how the image was processed.

Lightroom

In Lightroom, there are the usual workflow: exposure, sharpness and white balance adjustments to process from RAW. The image was then desaturated to -31, the vibrance taken down to -29 and the clarity pushed up to +71. Reducing the colour to provide a dark and moody presence.  I also added a shallow tone curve and imperceptible vignette.

Photoshop

Removed the reflection of myself and used the burn tool to tone down the interior of the pub, reducing lights and reflections.

Silver Efex

Processed to mono using preset 23 Wet Rocks and film type Agfa APX Pro 100.

Conclusion

To achieve that look, without Silver Efex would be impossible for an amateur retoucher like myself. Furthermore, in the distant analogue days it would have taken hours of work in the darkroom to achieve the same results.


Learn more:


Filed Under: Journey, Lightroom, Nik Collection, Photography, Photoshop, Post Processing, Silver Efex, Sony a6300, Street Photography Tagged With: Post Processing

How to Make Your Photos Pop

by John Gough

I recently entered an event at Bedford Camera Club, where we were presented with six photographs in RAW. Our objective was to process three images and present back how we did it. These are my notes, about how I went about trying to make these photos pop in Lightroom and Photoshop. I have not explained the technical details, but I have included some links to all the technical information..

Amazon have a good deal on Lightroom and Photoshop at the moment:


Image 1. How to make Your Photos Pop

This is the first image in RAW. Looks very drab and ordinary, BEFORE processing.

How to make your Photos pop

Image 1 BEFORE

The Issues with this Image

The picture is grey and washed out. There is no detail in the sky. There is no real focus on what the subject is. There is too much foreground. The edges are messy. The detail in the pebbles and brickwork are lost.

Processing in Lightroom and Photoshop

  1. Import the RAW file to Lightroom CC.
  2. Crop to A4 (Custom size 2.1 x 2.97) tightening the view to concentrate on the fishing boats. Excluding the motor boat on the right.
  3. Straighten the horizon. The roof in the background is not flat
  4. Check exposure. This image looks around a third of a stop under exposed
  5. Add contrast to make the image less flat
  6. Launch a Develop Lightroom preset. Here we are using my user preset for landscape
    1. Highlights -100 Shadows +100
    2. Adjust the whites and blacks by holding down the alt key (Windows)
    3. Move the Clarity / Vibrance / Saturation sliders to suit the effect required.
    4. Tone Curve.  Again to suit effect. Try an S curve
    5. Sharpening and Luminance around 30-45
    6. Tick Lens Correction and Enable Profile Correction
  7. Check the white balance. Take the dropper and pick a neutral grey colour. This will set the white balance.
  8. Move the image to Photoshop. Photo>Edit in>Edit in Photoshop CC
  9. Clone out the distracting speed boat on the right.
  10. Use the Dodge Tool to lighten the foreground and under the boats
  11. Use the Burn Tool just to add some detail back into the buildings and the decks of the boat
  12. To replace the sky. Erase the existing sky. Select>Colour Range>Fuzziness c’139. NB this method avoids having to somehow cut around the masts and rigging
  13. Use Erase tool to take out any remaining sky.
  14. Select an image with sky and add as a layer. Blend with the existing layer
  15. In Photoshop save. Image then available in Lightroom
  16. In Lightroom recheck the white balance / exposure /contrast etc for the new merged image
  17. Add a Post Crop Vignette that is there but not visible e.g. -14
  18. Save the image as a JPG
How to make your photos pop

Image 1 AFTER


Image 2 How to make Your Photos Pop

This is the second image in RAW. At least there is some interest in this image, but despite the magnificent architecture, it is drab and unexciting.

how to make a photo pop

Image 2 BEFORE


The Issues with this Image

This image has an odd sepia cast, as if the white balance needs correction. The detail in the sky is probably not worth trying to recover and could be replaced. The picture is dark and lacks detail. There is no real focus on the subject, the photograph is not about the two pigeons in the foreground.

Processing in Lightroom and Photoshop

  1. Import the RAW file into Lightroom CC
  2. Crop to A4 and lose the foreground
  3. Check exposure. This image looks around a third of a stop under exposed
  4. Add contrast to
  5. Launch a Lightroom preset (see above)
    1. Clarity / Vibrance / Saturation important to get some colour from the bland landscape.
    2. Manipulate the tone curve to get some detail
  6. The tower looks as though it is leaning backwards
    1. Go to the Transform tool
    2.  Use the vertical slider to -20 to correct
  7. Move the image to Photoshop. Photo>Edit in>Edit in Photoshop CC
  8. Use dodge and burn tools to create different light in the piazza, and to the buildings left and right
  9. Erase the sky. Select>Colour Range>Fuzziness (see above). This will preserve the building tracery on the buildings to the left and the spires and crosses
  10. Select an image with sky and add as a layer. Blend with the existing layer
  11. In Photoshop save. The image is then available in Lightroom
  12. In Lightroom recheck the white balance / exposure /contrast etc for the new merged image
  13. Add a Post Crop Vignette that is there but not visible
  14. The image still has an orange cast so recheck the white balance. The foreground piazza looks as though it should be grey so use the dropper to sample colour there.
  15. Save the image as a JPG
photos pop

Image 2 AFTER

Image 3 How to Make Your Photos Pop

This is the third image in RAW. There is a picture in there somewhere trying to get out.

photos pop

Image 3 BEFORE

The Issues with this Image

The detail in the columns is lost. There is no real colour so would it be better in black and white? The portrait mode makes the picture mostly pavement. The two nuns should be made the focus of the image.

Processing in Lightroom, Photoshop and Nik Silver Efex Pro2

  1. Import the RAW file into Lightroom CC
  2. Crop to A4 and change from portrait to landscape. That way we focus on the ladies walking and lose the black shadow overhead. Place ladies in the centre of the rule of thirds grid
  3. Check white balance/exposure/contrast
  4. Apply a Lightroom preset (see above)
  5. Move the image to Photoshop. Photo>Edit in>Edit in Photoshop CC
  6. Use dodge tool to reveal the detail in the columns and paving.
  7. In Photoshop save. The image is then available in Lightroom
  8. Move the image to Nik Silver Efex Pro2 which you can download for free here. Photo>Edit in>Edit in Siver Efex Pro2
  9. Select a preset from the preset library in Silver Efex.
  10. Save to move image back to Lightroom
  11. Add a Post Crop Vignette that is there but not visible
  12. Save the image as a JPEG


I am fascinated by digital post production. However, I am still very much in the foothills in the journey to master Photoshop especially. If you want to see just what can be achieved, look at the books and videos of Glyn Dewis.


Filed Under: Journey, Lightroom, Nik Collection, Photography, Photoshop, Post Processing, Silver Efex Tagged With: Post Processing

« Previous Page
Next Page »
Copyright: John Gough 2025